

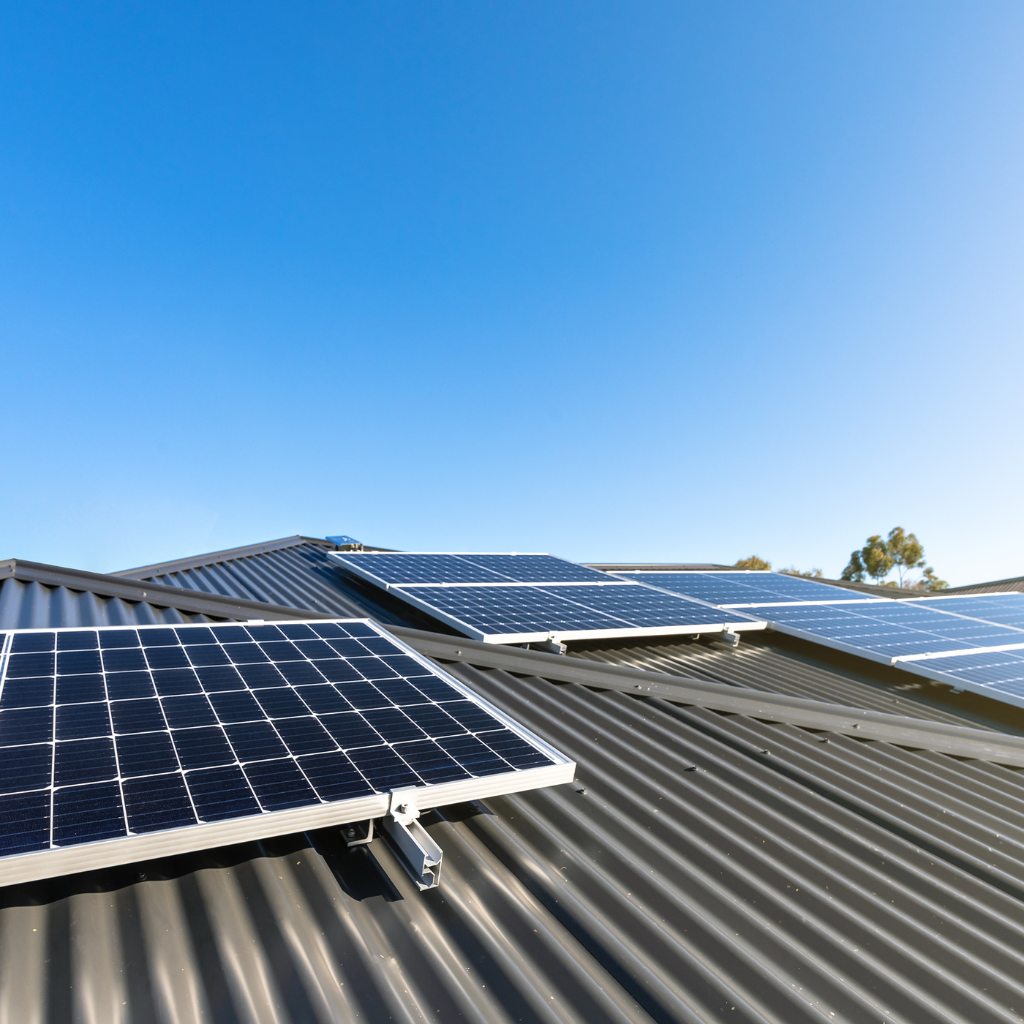
Metal roofing is known for lasting a long time, saving energy, and adding a modern touch. These qualities have boosted its popularity among homeowners everywhere.
Understanding each installation step helps you pick the best approach. Being informed makes any roofing project more successful and efficient.
This guide provides detailed insights into preparing the site, handling panels, and final touches. You will learn about crucial, practical materials and proven application strategies.
Before starting any installation guide, it is important to make sure your roof can support metal roofing sheets. A good plan includes measuring the roof, picking the correct materials, and understanding potential problem areas. This groundwork helps everything run smoothly and reduces issues and delays once the real work begins.
Examine the existing roof structure to see if weight support is sufficient. Older frames may need additional bracing to handle modern metal roofing added stress.
Gather tools like tin snips, drills with compatible bits, and proper safety gear. Always have gloves, goggles, and noise protection for safe and smooth work.
Measure each roofing sheet area carefully to avoid ordering too little or too much material. Account for possible overlaps, edges, and any unique roof angles.
Plan where vents, chimneys, and valleys will sit on the roof surface. Mark these points so flashing can be installed quickly when the project starts.
Assessing the Roof Surface for a Box Profile
Before deciding on a box profile design, check each part of the roof surface for dips or damage. Fixing weak sections ensures that the metal roofing sheets lay evenly. Use a level or custom measuring tool to spot any low spots. Once found, reinforce those areas to prevent future leaks or panel misalignment. This attention to detail keeps the entire system secure. Many homeowners overlook small defects, but these can grow over time and create big headaches. Spending time on repairs now means a longer-lasting metal roofing solution with less need for maintenance and worry down the road later on.
Choosing the Right Roofing Sheet and Materials
Picking the correct roofing sheet hinges on local climate, building style, and personal taste. Thicker panels offer better protection in harsh weather but can be heavier. Be sure your structure can handle the load. Also, consider coatings that resist rust and reflect heat. This choice can keep the interior cooler and extend the roof’s life. When selecting fasteners, match them to the panel material to prevent corrosion. Many manufacturers provide color-coded screws that blend with the sheet. By spending time on these details, you avoid issues like leaks and keep your metal roofing system reliable and durable in the future.
How Do You Install Metal Roofing Panels: A Step-by-Step Method
Installing a metal roof starts with careful planning and evenly placed underlayment. Proper alignment matters throughout this process. Each step requires positioning panels, securing fasteners, and checking overlaps. By following the correct order, you reduce mistakes and ensure that the finished product looks clean and protects the home for years.
Starting with underlayment installation to provide a moisture barrier and additional insulation helps the metal roof resist leaks. Overlapping seams and using quality fasteners also keep water infiltration low.
Installing edge trim, valley flashing, and other accessories before laying the first metal panel prevents gaps. It also simplifies the overall process when panels are ready to be placed.
Properly aligning, overlapping, and fastening metal panels according to manufacturer specifications is crucial. This step preserves structural integrity and stops wind-driven rains from seeping under the panels and causing damage.
Adding ridge caps, pipe boots, and finishing touches to ensure water tightness and aesthetic appeal brings the installation to a close. Regular inspections keep the system performing well.
Applying the Underlayment on Metal Roofs
Underlayment acts like a shield between the roof deck and metal panels. It helps block moisture and offers an extra layer of insulation. Before rolling it out, check the deck for loose nails or debris. Smooth the surface to avoid uneven spots that could affect the metal panels. Use an approved underlayment that tolerates temperature changes common with metal roofs. Fasten it according to guidelines, overlapping each row enough to seal out water. Some underlayments include self-adhesive features for extra grip. Properly installed underlayment significantly reduces the possibility of leaks and boosts overall performance for any metal roofing system.
Fastening the Ridge Cap and Accessories
Securing the ridge cap completes the top section of your metal roof. Begin by centering the cap over the peak and ensuring each side covers the panel edges. Attach screws through predrilled holes or follow the cap’s guidelines for fastener spacing. Consider adding foam closures if recommended since doing so can prevent water penetration along ridges. Also, place pipe boots around vents or exhaust stacks, and seal them carefully. These smaller steps keep moisture and pests out of your home. With the ridge cap and accessories properly installed, your metal roofing offers a sturdy, weather-resistant surface for a long time.
Different Metal Roofing Systems: How to Install a Metal Roofing
Metal roofing comes in various styles, including standing seam, corrugated sheets, and metal shingles. Each style has unique fastening requirements and overlap rules. Knowing these differences can help you pick the right look and performance level for your home. Plus, correct installation methods boost durability and reduce upkeep charges later.
Standing seam metal roof installation techniques, including clip systems and seaming tools, require precise alignment. Panels must be carefully positioned so that the seams lock up tight, keeping out water. This extra attention ensures proper expansion and contraction without deforming the panels.
Corrugated and ribbed metal panel installation revolves around laying panels with correct overlaps. Screws or fasteners go on the raised ribs or corrugations. Properly placed fasteners reduce leaks and provide the necessary strength that helps the roof last through wind and heavy rain.
Metal shingle and tile systems echo classic roofing appearances. They fit together like puzzle pieces and should be nailed or screwed following the manufacturer’s guidance. These systems deliver the traditional look of slate, wood, or tile with the benefits of metal’s lighter weight.
Stone-coated metal roofing installation involves special coatings that give a textured finish. These panels often interlock, reinforcing weather resistance. Proper nailing or screwing patterns minimize shifting. With the right underlayment and flashing, the roof not only looks refined but also endures rough weather conditions.
Working With Corrugated Roofing Sheets and Overlaps
Corrugated sheets typically feature wave-like ridges or box-shaped crests. Each panel overlaps the next by at least one ridge or more, as specified by the manufacturer. This overlap guards against water seepage and wind-driven rain. Always position panels squarely along the eave, checking alignment every few feet. Fasteners should go on the high points of each corrugation to reduce the risk of leaks. Use rubber-gasketed screws to improve water tightness. Also, measure carefully around vents or chimneys, cutting neat openings with tin snips. A small table saw or metal shears work, too, but keep the edges smooth for the best results.
Stone-Coated Panels and Standing Seam Tips
Stone-coated panels use a base metal covered in granules to replicate the look of traditional shingles or tiles. These panels often lock together, creating a uniform surface that sheds water easily. For standing seam roofing, specialized seamers crimp each vertical joint, forming tight seals. This design hides fasteners under the seams, protecting them from weather damage. In both cases, accurate measurements pay off. It is wise to create a layout plan and mark courses on the underlayment. This approach helps avoid gaps that might lead to leaks. When done correctly, these systems combine superior longevity with an attractive, finished appearance.
Common Problems: How Do You Install Metal Roofing Correctly?
Metal roofing projects can face hurdles like awkward angles, unexpected leaks, or expansion issues. By learning how to install metal roofing properly, you reduce these headaches. Simple tweaks, such as extra bracing or correct flashing, can prevent big problems later. Careful preparation remains the best way to avoid mistakes.
Dealing with complex roof features like chimneys, skylights, and unusual angles calls for custom flashing. Accurately cutting panels and sealing around edges prevents water intrusion. A patient approach ensures each tricky spot remains watertight over time. (35 words)
Preventing oil canning and other appearance issues starts with careful storage and handling of panels. Over-tightening fasteners can also cause distortion. Consistent, moderate tension helps maintain smooth surfaces across all parts of the roof.
Managing expansion and contraction issues in extreme temperatures is key. Allow slight room for movement by not overtightening screws. Proper placement of clips on standing seam roofs prevents unsightly buckling or lifted panels in hot conditions.
Troubleshooting leak-prone areas involves checking metal overlaps, flashing joints, and fastener seals. Any gaps must be quickly addressed to stop moisture infiltration. Regular inspections, especially after severe weather, help find problems before they escalate.
Handling Unusual Angles and Flashing Details
Flashing provides a reliable transition between metal panels and roof openings. For unusual angles, measure carefully to shape custom flashing strips that follow the roof’s pitch. When installing around a chimney or skylight, clean and level the surface first. Then, layer flashing pieces shingle-style, so upper pieces overlap lower ones and direct water outward. Seal each seam with an approved sealant that resists temperature changes. Double-check your fastening pattern to make sure every piece stays secure despite wind or vibration. If a gap appears, address it right away. Diligent flashing work ensures your metal roofing stands strong against water intrusion.
Preventing Leaks and Oil Canning Altogether
Leaks can arise from small oversights, like not tightening screws enough or failing to overlap panels properly. Inspect each connection after fastening and fill gaps with a sealant if needed. While oil canning typically occurs due to tension within the metal, storing panels flat and installing them slowly can reduce ripples. Choose a thicker gauge if you anticipate more foot traffic on the roof. Balanced fastening helps the metal maintain its natural shape. Additionally, keep an eye on ridge caps and valley flashing, two common leak points. By staying alert, you avoid major issues and extend the life of your new roof.
DIY vs. Professional Metal Roof Installation Choices
Homeowners often ask if they should install metal roofing on their own or hire experts. Doing it yourself might save money, but it requires skill and patience. Pros bring experience, faster timelines, and possible warranties. Weighing costs, safety, and complexity can clarify which route works best for your situation.
Comparing the costs, time commitment, and potential savings of DIY versus professional installation comes down to your personal skill level. Professionals charge for labor but guarantee faster, smoother work. Still, confident DIY enthusiasts may handle simpler jobs if they plan thoroughly.
Highlighting the specialized tools and expertise professionals bring, including advanced seamers, lifts, or safety equipment. Experienced crews recognize issues quickly and adapt. This knowledge can prevent costly mistakes, saving money and stress over the life of your metal roof.
Discussing warranty implications matters. Many manufacturers honor coverage only with certified installers. DIY attempts could void coverage if guidelines aren’t followed. Understanding these terms helps you decide which method preserves long-term protection for both materials and labor.
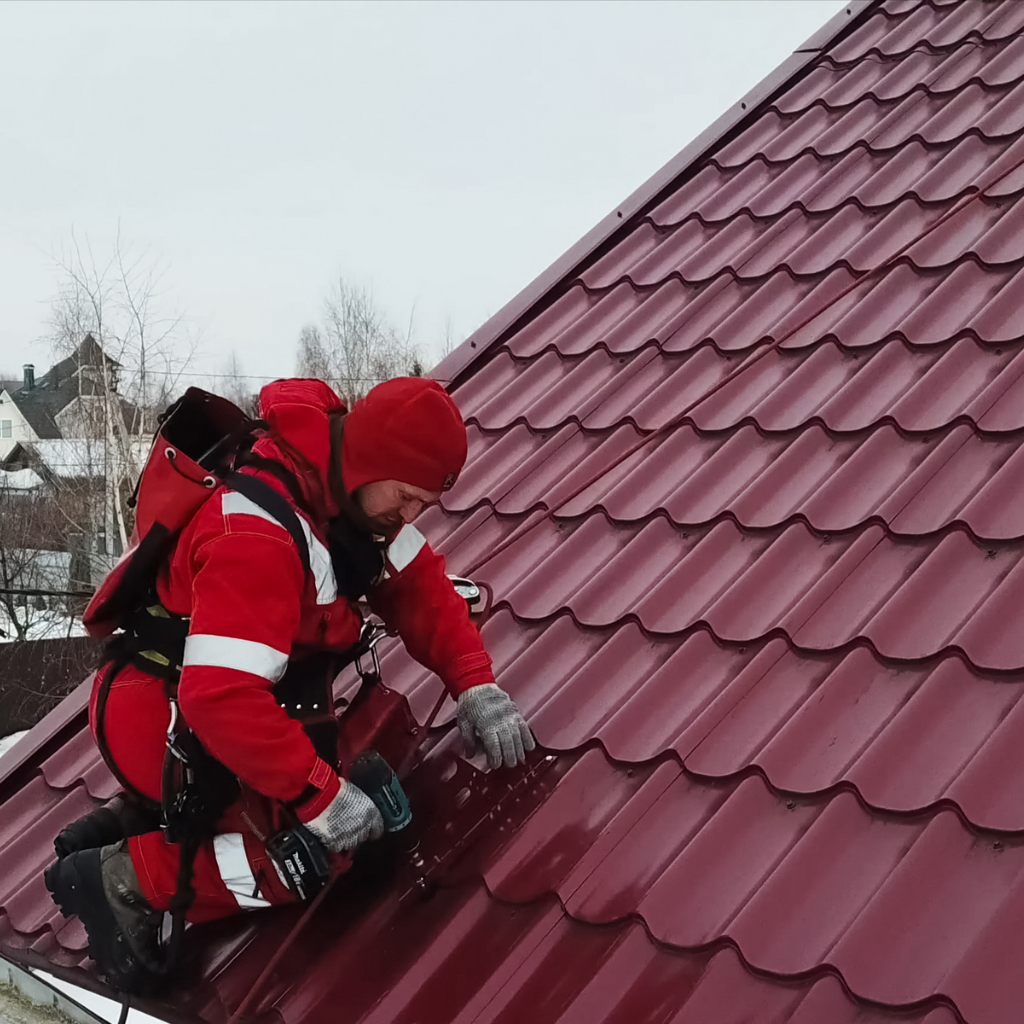
Reviewing safety considerations and risks begins with acknowledging the danger of working on a steep roof. Falls, tool mishaps, and weather changes can complicate the job. Professionals have insurance and practice proven methods, reducing the chance of injuries or costly accidents.
Time, Money, and Skill Requirements
Undertaking a metal roof project yourself can reduce labor expenses but demands a steep learning curve. If you cannot devote weekends or extended days to the task, delays might leave parts of your home exposed. Also, complex cuts around gables and dormers test your ability to handle specialized tools. Hiring a pro reduces the project timeline substantially and often leads to a refined final appearance. While professional labor costs more, the result may be calmer and safer overall. Assess your comfort level with heights, power tools, and detailed measurements before committing fully to a DIY approach.
Safety Measures and Warranty Considerations
Working with metal roofing sheets at height creates challenges beyond standard home improvement tasks. Wearing non-slip boots, using stable ladders, and securing harnesses lower the risk of accidents. Always watch your footing because metal panels can become slippery. As for warranties, many roofing sheet manufacturers require certified installation to honor coverage. If you choose DIY, keep thorough records and follow product instructions exactly. Otherwise, you may lose important benefits, like a guaranteed replacement, if defects appear. Before starting, contact the manufacturer or supplier about any special certification needs. This step can protect your investment and ensure top-quality results in the end.
Conclusion: Wrapping It Up
Recap of the key metal roofing installation steps and best practices for optimal performance begins with planning, measuring, and securing all materials. Proper overlaps, flashing, and fastener choices prevent leaks. Regular checks keep panels in place and maintain peak efficiency.
Emphasizing the importance of proper installation for maximizing metal roof lifespan and benefits underscores every stage. Little errors today can become expensive repairs later. Careful attention to panel alignment, flashing, and fasteners ensures your roof remains strong and weather-resistant for decades.
Encouraging readers to get professional assessments and quotes before making final decisions is wise. Experts detect hidden problems, provide accurate cost estimates, and suggest materials that fit your style and budget for a successful roofing experience.
Invitation to contact our roofing experts for personalized guidance on metal roof installation completes this process. We are here to answer questions, offer solutions, and help you enjoy a sturdy, efficient, and attractive roof for years.


