

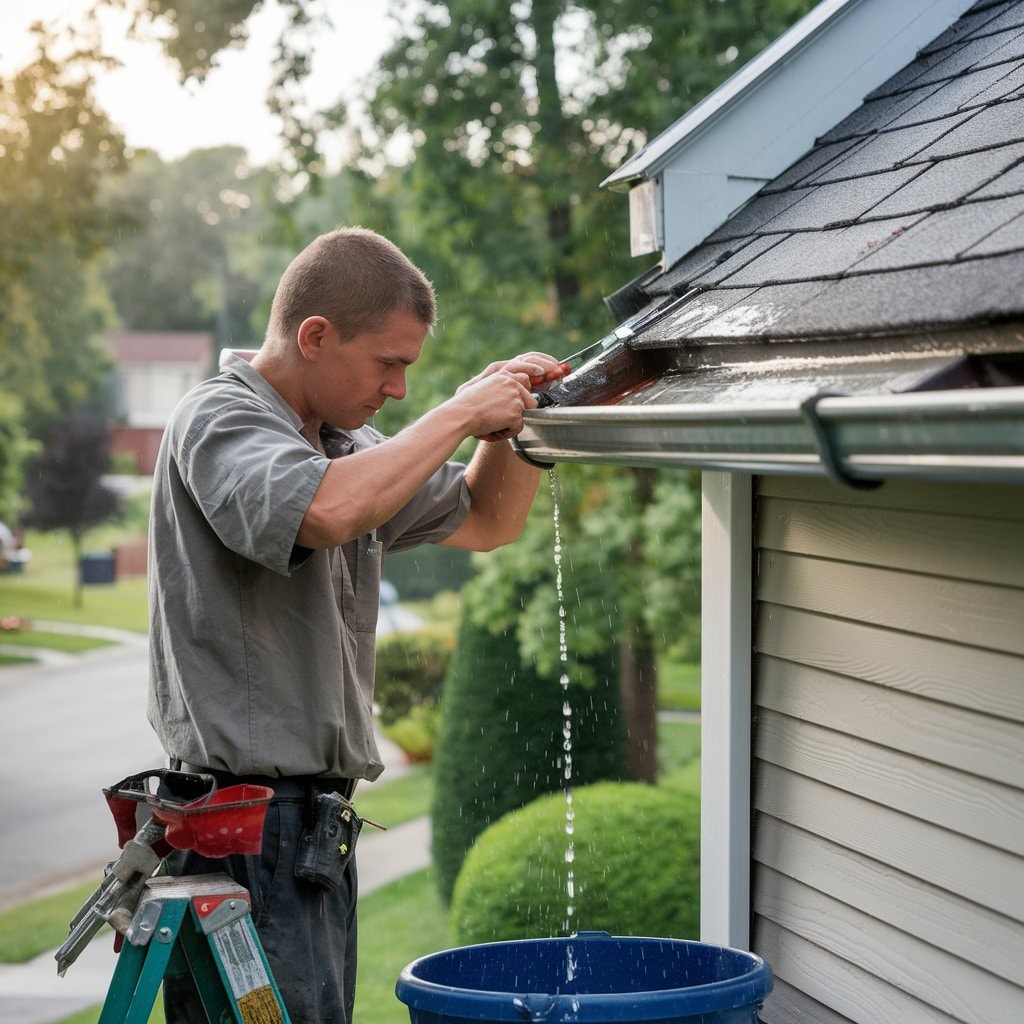
To repair gutters and stop leaks, first clean and dry the affected area thoroughly, and apply a high-quality gutter sealant directly to leaks at joints, seams, and end caps using a sealant gun, ensuring the layer is even and covers all gaps. Smooth out any excess sealant for a neat finish. This method provides a temporary fix, securing the bottom repair a leaking gutter against water penetration. More extensive steps are available for a thorough guide on long-term solutions and detailed techniques.
Key Takeaways
- Clean the affected area thoroughly to ensure the sealant adheres appropriately.
- Apply a high-quality gutter sealant directly to leaks using a sealant gun.
- Ensure the sealant covers all gaps and is applied evenly without bubbles.
- Remove any excess sealant for a neat finish and to prevent future accumulation.
- Allow the sealant to cure as per the manufacturer’s instructions before testing for leaks.
What Are the Best Methods to Fix Leaking Gutters?
To effectively fix leaking gutters, first pinpoint the exact location of the leak. Temporary fixes can be made using a high-quality gutter sealant applied to the identified areas.
For a more permanent solution, consider replacing any worn-out joints, as these are often the culprits behind persistent leaks.
Identifying the Source of the Leak
Identifying the source of a leak in gutters is a crucial first step in ensuring effective repairs. To fix gutters, one must first examine common problem areas such as gutter joints, gutter end caps, and leaking gutter seams.
These spots are notorious for developing leaks, especially in older installations or those that have endured severe weather.
Inspecting these areas during or immediately after rain can help pinpoint exactly where water is escaping. For gutter joints and seams, look for signs of separation or damage to the sealant. Gutter end caps should be checked for looseness or corrosion.
Once the precise location of the gutter leak is identified, one can proceed to repair gutters accurately and efficiently.
Using Gutter Sealant for Temporary Repairs
While gutter sealant is not a permanent solution, it serves as an excellent temporary fix for leaks in gutters. To effectively repair a gutter with minor leaks, begin by thoroughly cleaning the affected area to guarantee the sealant adheres appropriately.
Using a sealant gun, apply sealant directly to the leak inside the gutter, covering it adequately to prevent further water intrusion.
Be meticulous in smoothing out the sealant to form a uniform layer without gaps or bubbles. After applying, remove any excess sealant to maintain a clean appearance and guarantee peak functionality.
This method temporarily fixes leaking gutters, providing relief until a more durable method of gutter repair can be undertaken. Always check the manufacturer’s instructions for the best results.
Replacing Worn-Out Gutter Joints
After the gutter sealant has been used for temporary fixes, replacing worn-out gutter joints becomes the next critical step in guaranteeing long-term functionality and preventing leaks.
For effective gutter repair, the following steps are essential:
- Identify Damaged Joints: Inspect each gutter joint for signs of damage or an affected seal. This includes looking for gaps, cracks, or any evidence of water leaks around the joints.
- Remove Old Sealant: Carefully scrape off any old or damaged seal from the union joint. This guarantees that the new seal adheres properly and creates a good seal to prevent future leaks.
- Apply New Sealant: After cleaning the joint surfaces, apply a high-quality gutter sealant. Confirm it fills all gaps, providing a robust and durable new seal at each joint to stop leaks effectively.
How Do You Repair Gutter Joints?
Repairing gutter joints effectively begins with recognizing the different types prevalent in residential and commercial installations.
One must follow a series of steps to address leaks at these joints, ensuring that each is cleaned, aligned, and sealed correctly.
For those seeking a temporary or quick solution, applying gutter repair tape can provide an immediate, though not permanent, fix to prevent water damage.
Understanding Different Types of Gutter Joints
Understanding the different types of gutter joints is essential for effective repair. The integrity of these joints directly affects the overall functionality and longevity of the guttering system.
Here are three common types of joints found in residential and commercial gutter systems:
- Slip Joints: Typically used to connect two sections of guttering without soldering. Repairing holes and cracks at these joints often involves applying gutter repair tape and sealant along the inside edge to improve the seal.
- Butt Joints: Where gutter ends meet straight on. These require a union piece and a robust sealant to fix cracks and guarantee a watertight seal, enhancing the existing seal with silicone lubricant for better adhesion and flexibility.
- Corner Joints: These are critical points prone to leaks. Properly sealing these involves meticulously applying sealant inside the joint, focusing on the inside corners where water tends to collect.
Steps to Fix a Leaking Gutter Joint
Having explored the common types of gutter joints, it becomes necessary to focus on the practical steps required to address leaks effectively. Fixing a leaking gutter joint involves a series of methodical steps to guarantee water is efficiently directed away from the property.
| Step | Action |
|---|---|
| 1 | Inspect the joint to identify the common causes of leaks. |
| 2 | Clean the joint area thoroughly to prepare for repair. |
| 3 | Apply gutter sealant specifically designed for outdoor water exposure. |
| 4 | Allow the sealant to cure as per the manufacturer’s instructions. |
| 5 | Test by running water to guarantee the leak is fixed. |
These steps help determine whether a simple repair or complete replacement is needed, impacting the gutter repair cost.
Using Gutter Repair Tape for Quick Fixes
For homeowners seeking a quick and effective solution to gutter leaks, gutter repair tape offers a practical alternative. This method is particularly suited for addressing leaky joints and minor cracks that might not yet require a complete replacement.
Here’s how to use gutter repair tape efficiently:
- Clean the Area: Before applying the tape, thoroughly clean the gutter sections around the leak. A clean surface guarantees better adhesion of the tape.
- Apply the Tape: Place the gutter repair tape directly over the leaky joint or crack, pressing firmly to create a watertight seal.
- Inspect Regularly: After application, check the repaired section during rain to verify the seal holds.
Regular gutter maintenance can prevent future leaks and extend the lifespan of your gutters.
What is the Cost of repairing gutters?
The cost of repairing gutters can vary widely depending on several factors, such as the extent of damage and the materials involved.
Homeowners must weigh the difference in expenses between hiring professionals and undertaking the repairs themselves, which can influence both the quality and cost-efficiency of the project.
Additionally, setting a budget for gutter repairs should account for the specific types of damage, like leaks or structural weaknesses, which can affect the overall financial planning.
Factors Influencing Gutter Repair Cost
While the essential cost of repairing the leaky gutters might seem straightforward, several factors can significantly influence the final price.
Here are the key elements:
- The extent of Damage: Minor issues like sealing a leak may cost less, whereas extensive damage requiring new gutter sections or professional gutter installation can increase repair costs considerably.
- Material and Design: High-end materials like copper or intricate designs can elevate the cost of repair compared to standard aluminum gutters. Replacing the whole guttering system with such materials can be exceptionally costly.
- Accessibility and Labor: Hard-to-reach areas may require special equipment or additional labor, affecting the overall cost. Local gutter professionals might charge varying rates, which are also influenced by the age of your gutters.
Comparing Professional vs. DIY Gutter Repair
Understanding the factors influencing gutter repair costs sets the stage for evaluating the merits of hiring professionals versus tackling the project oneself.
Professional vs. DIY gutter repair can vary significantly in cost. Hiring gutter experts guarantees a thorough and lasting fix, typically involving high-quality gutter sealant, precise repair tape, and professional-grade tools.
Meanwhile, a DIY approach, while often less expensive upfront, requires a visit to a home improvement store for supplies like ladders, sealants, and tapes. A step-by-step guide can assist homeowners in managing gutter leaks themselves.
However, without professional expertise and further advice, the risk of incorrect application or further damage might increase, potentially leading to higher costs over time due to repeated repairs.
Budgeting for Different Types of Gutter Repairs
Given that the choice between professional and DIY gutter repair can greatly impact overall costs, it is essential for homeowners to understand the financial implications of different types of gutter repairs.
Here is a breakdown:
- Basic Repairs: Replacing gutter hangers or applying roof and gutter repair tape to small leaks might cost between $50 and $250. These costs typically include gutter parts and essential labor.
- Section Replacement: For more severe damage, replacing a section of the gutter or installing new gutter fittings can range from $200 to $500, depending on the material and length of the gutter section.
- Comprehensive Solutions: Full-scale repairs involving multiple sections or the integration of a gutter apron can exceed $1000, mainly when aiming to prevent the gutter from future issues and addressing the underlying cause of the leak.
How Can You Prevent Gutter Problems?
Preventing gutter issues starts with regular cleaning and maintenance, which guarantees that water flows freely and reduces the risk of blockages and leaks.
Installing gutter guards can further protect against the accumulation of leaves and Debris, considerably extending the lifespan of your gutter system.
Additionally, maintaining proper alignment between the roof and gutters is essential for effective water diversion and preventing structural damage.
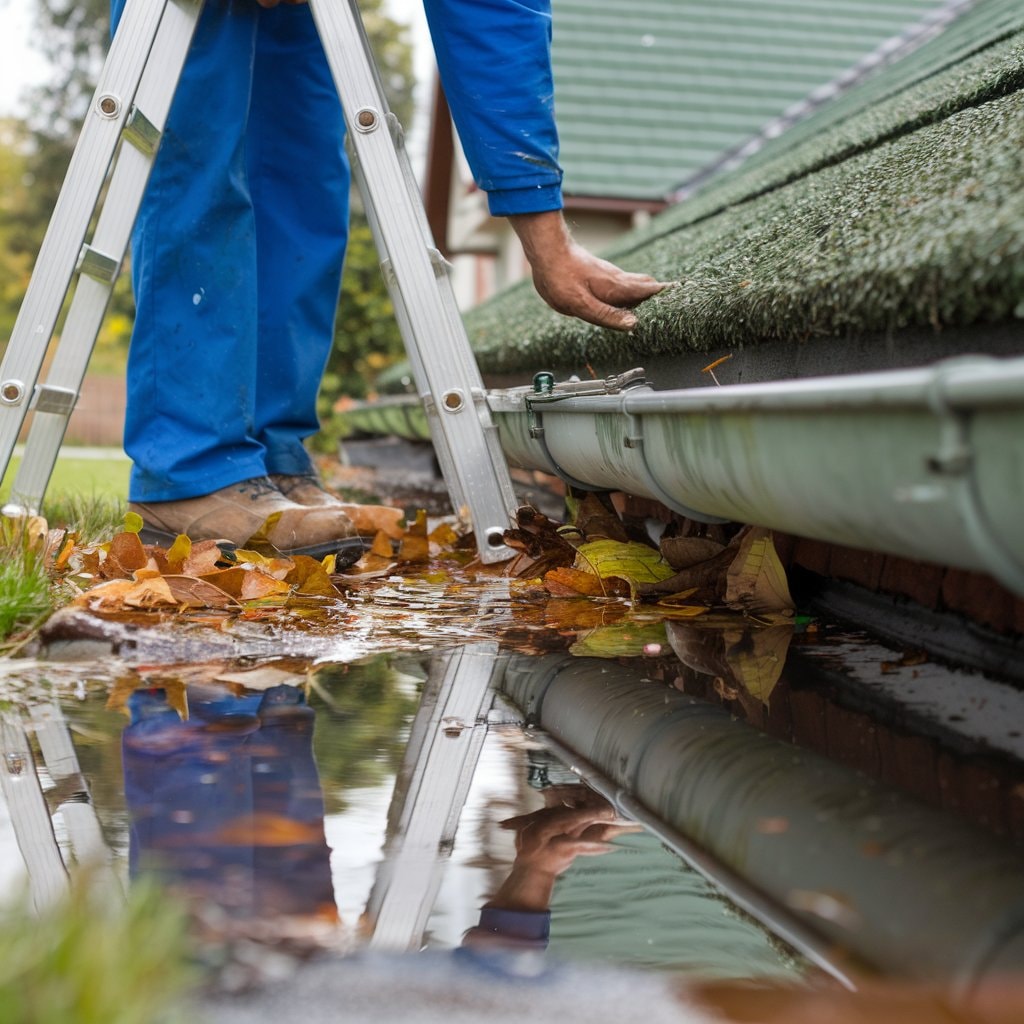
Regular Gutter Cleaning and Maintenance
Although regular maintenance may seem cumbersome, cleaning gutters frequently is vital to prevent blockages and leaks that can lead to more severe damage.
Here are three essential steps to guarantee the gutter remains functional:
- Remove Debris Regularly: Clean out your gutters at least twice a year using a putty knife to clear out leaves and twigs, preventing blockages that can cause standing water and structural damage.
- Flush with Water: Use a garden hose to flush out smaller particles. This helps to verify that water flows freely and doesn’t pool, which can weigh down the gutter system and lead to sagging or detachment.
- Inspect and Repair: Check for any signs of wear or damage. Use a soft sponge to gently clean the gutter surface, looking for rust, holes, or cracks that need immediate attention to prevent leaks.
Installing Gutter Guards to Minimize Debris
To further enhance the effectiveness of regular gutter maintenance, homeowners should consider installing gutter guards. Gutter guards can help prevent gutters from overflowing by blocking leaves and other debris, which are major contributors to clogs and subsequent overflows. By ensuring Debris is minimized, these additions to modern guttering systems promote better water flow and reduce the frequency of maintenance tasks.
Here’s a quick comparison of various gutter guard types:
| Type | Material | Effectiveness |
|---|---|---|
| Mesh | Steel/Aluminum | High |
| Foam | Polyurethane | Moderate |
| Brush | Bristle | Moderate |
| Reverse Curve | Plastic/Metal | High |
| Screen | Metal | High |
Installing the right gutter guard type helps keep the guttering and drainage system clear, thereby directing water away from the foundation efficiently and preventing gutter overflows.
Ensuring Proper Roof and Gutter Alignment
Guaranteeing proper alignment between the roof and the gutters is essential for preventing water damage to a home’s structure. Misaligned gutters can lead to significant issues, such as water backing up under roof shingles or spilling over the gutter edges.
Here are key steps to maintain proper gutter alignment:
- Check Gutter Slope: Confirm the gutter is attached with a slight slope towards downspouts to facilitate water flow. Incorrect slope can cause water to pool, adding weight and causing the gutters to sag.
- Secure the Fascia Board: The stability of the gutter system relies on the fascia board. If gutters are not installed securely away from the fascia, it can lead to detachment and misalignment.
- Regular Inspections: Periodically inspect and, if necessary, adjust the alignment or consider replacing a gutter that shows signs of sagging or detachment. This prevents long-term structural issues and guarantees efficient water diversion.
What Are the Steps to Repair End Caps on Gutters?
Repairing end caps on gutters starts with accurately identifying any issues, such as cracks or loose fittings, that could lead to leaks.
Once problems are pinpointed, the next step involves applying a suitable sealant to fix any cracks in the end caps, ensuring a watertight bond.
Finally, it is essential to securely reattach and seal the end caps to the gutter system to prevent any future leaks and maintain the integrity of the gutter’s function.
Identifying Issues with Gutter End Caps
Why do gutter end caps leak? Various factors often compromise the integrity of gutter end caps in most modern guttering systems, resulting in wasted time.
Here are three vital steps to identify and prepare for repairing these common gutter problems:
- Inspect for Damage: Carefully examine the end caps for small holes or larger holes. Wear gloves, and feel around the edges for any irregularities that might not be immediately visible.
- Assess the Seal: Check if the sealant has aged or detached, which is frequent with metal guttering systems exposed to varying weather conditions.
- Temporary Fixes: Apply weather-proof tape as a temporary solution, especially if the damage is minimal, to prevent immediate water leakage until a more permanent repair can be made.
How to Properly Fix Cracks in End Caps
Addressing cracks in gutter end caps effectively prevents water damage and prolongs the life of your gutter system. To repair these, one must assess the specific type of guttering—be it metal gutter, UPVC guttering, or another common gutter material. Cracks in the end caps can cause a gutter leak, which compromises the entire system.
Here’s a practical guide to get your gutters back in shape:
| Step | Action | Detail |
|---|---|---|
| 1 | Identify Damage | Check the outside of the gutter end cap. |
| 2 | Prepare Surface | Clean the area around the crack. |
| 3 | Choose Sealant | Select appropriate sealant for gutter profile. |
| 4 | Apply Sealant | Seal the crack thoroughly. |
| 5 | Inspect | Verify no part of your guttering is omitted. |
Sealing and Securing End Caps to Prevent Leaks
Following the steps for fixing cracks in gutter end caps, it is also necessary to affirm that these components are not only repaired but also firmly sealed and secured. Proper sealing is essential to stop leaks and guarantee the longevity of the repair.
Here are the key steps:
- Clean the Area: Use warm, soapy water and a wire brush to clean the end cap and surrounding area thoroughly. This removes Debris and old sealant, providing a clean surface for the new application.
- Apply Sealant: Select an effective sealant designed for gutters. Apply it evenly around the end cap, ensuring all gaps are covered to stop leaks.
- Secure the End Cap: After sealing, firmly secure the end cap to the gutter, checking for any loose spots that might need additional sealant. This is the best solution to guarantee a watertight seal.
Conclusion
In summary, effectively repairing gutters and preventing leaks involves meticulous attention to detail and the correct application of high-quality sealants. Addressing joint repairs, end caps, and routine maintenance can significantly extend the lifespan of gutter systems. Although initial costs may vary, investing in proper maintenance can mitigate expensive damage in the future. Preventative measures and regular inspections are essential for maintaining the functionality and integrity of gutter systems safeguarding a home’s structural health.


