

Introduction to How to Tile a Roof with Concrete Tiles
Concrete roof tiles give solid protection to homes in many regions. They resist harsh weather and last for decades when installed correctly. This approach is DIY-friendly if you follow safe methods. If you need expert assistance, our team offers specialized roof tiling services. Focus on accurate measures, good batten spacing, and correct steps for ridge tiles or hip tiles. Proper knowledge ensures a dependable roof.
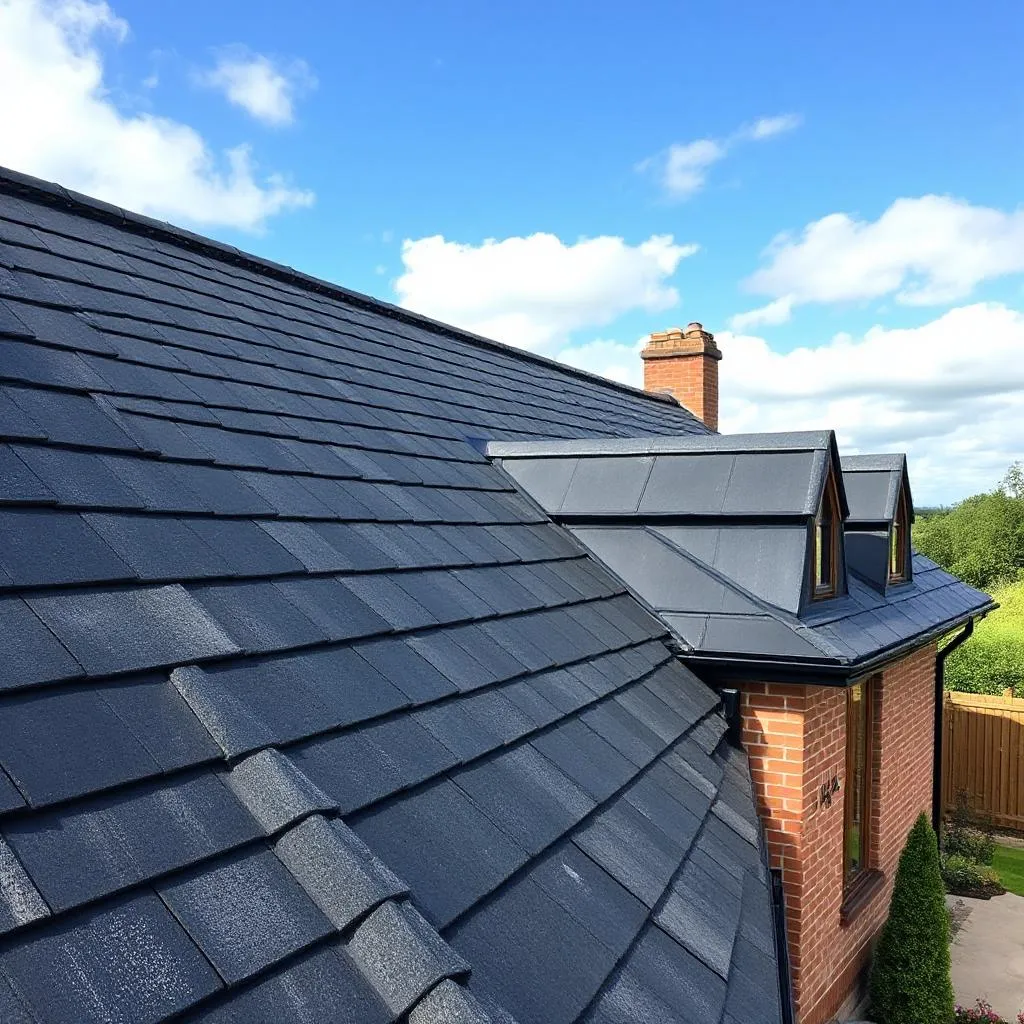
Understanding Concrete Roof Tiles and Their Fantastic Range
Concrete roof tiles are popular for many reasons, including appearance and durability. They work well in diverse climates, manage moisture effectively, and offer remarkable longevity. They also come in a fantastic range of colors and textures. Before starting, it is helpful to know why they stand out and how they compare with other roofing choices.
Benefits of Concrete Tiles
Concrete tiles are formed by mixing cement, sand, and water. This process leads to a sturdy product that can handle challenging weather without much damage. Their weight and density help control indoor temperatures, reducing hot spots in summer. Many homeowners appreciate that these tiles can last for decades with basic care. High-quality concrete stands strong against rain, wind, and daily wear. Also, tiles come in different shapes and finishes to match cottage, modern, or Mediterranean designs. Maintenance is usually easy if tiles are kept clean and inspected regularly. As a bonus, concrete tiles are not easily flammable, providing timeless benefits in home roof safety.
Comparing Concrete Tiles to Other Roof Materials
Concrete tiles can outweigh standard roof tiles, so they need a sturdy roof framework. However, this also grants remarkable resistance to storms and strong winds. Here is a simple table showing some differences:
| Roof Material | Key Features |
|---|---|
| Concrete Tiles | Long lifespan, good insulation, solid against severe weather |
| Clay Tiles | Classic style, lighter than concrete, more fragile, often pricier |
| Roof tiles | Lightweight, cheaper upfront, shorter life, less heat resistance |
Concrete roof tiles generally cost more at first, yet their durability often justifies the price. They may also contribute to energy savings, since they trap less heat than metal roofs. Maintenance is straightforward: occasional checks and prompt tile replacements keep them in good condition.
Planning Your Roof Area and How Many Tiles You Need
Thorough planning ensures enough materials to complete the roof. Accurate roof area measurements help you see how many tiles to purchase. Sketch the surface, measure slopes, and leave room for cut tiles near edges. It’s smart to overbuy a bit for breakage or future replacements so you do not run short.
Calculating How Many Roof Tiles You’ll Require
“How many roof tiles do I need?” is often the first question for homeowners. Start by measuring the total roof area in square feet or meters. Then, check the coverage rate for your concrete tiles, which often notes how many tiles fit per square meter. Commonly, each tile overlaps its neighbor, so account for that in your final tally. If your roof has valleys or chimneys, you may need extra to accommodate cut tiles around edges and corners. Typically, buying an extra 10% above the bare calculation covers breakage and mistakes. You’ll also want some backup tiles for incidental damage later.
Scheduling a Smooth Installation
Once you calculate the total number of concrete roof tiles, plan labor and timing. If weather is unpredictable, wait for a moderate spell to reduce risks. Gather tools, safety gear, and roofing accessories in advance to avoid mid-project delays. Check local building rules for any restrictions or permits. A neat schedule might note each day’s goals, from removing old roofing to installing battens and then laying tiles. Remember to factor in tasks like mounting ridge tiles and dealing with hip tiles. Keep in mind that professional help may be wise if your roof is highly angled or structurally complex. Proper planning ends up saving costs and frustrations.
Ensuring Correct Batten Spacing for Concrete Roof Tiles
Batten spacing affects how firmly tiles attach and how water flows off. With accurate measurements, each course stays level, preventing gaps that can allow leaks. Using sturdy lumber for battens is vital, and the spacing must match the specific tile model’s standards to guarantee reliable protection.
Tools and Methods for Proper Batten Installation
Essential tools include a measuring tape, chalk line, hammer, nails, or screws. Some folks use a combination of nails and clips for extra tile security. Start by marking guidelines across rafters to ensure each batten is parallel. Position the first batten near the eave based on the tile manufacturer’s settings. Continue upward, nailing each batten, providing a uniform surface for the tiles to rest. Gaps between battens should follow exact tile specifications, as different profiles may demand varied spacing. For a more consistent result, verify alignment every few rows. If the roof pitch is steep, consider a harness or scaffolding to work safely. Sound preparation keeps the finished roof neat and sound.
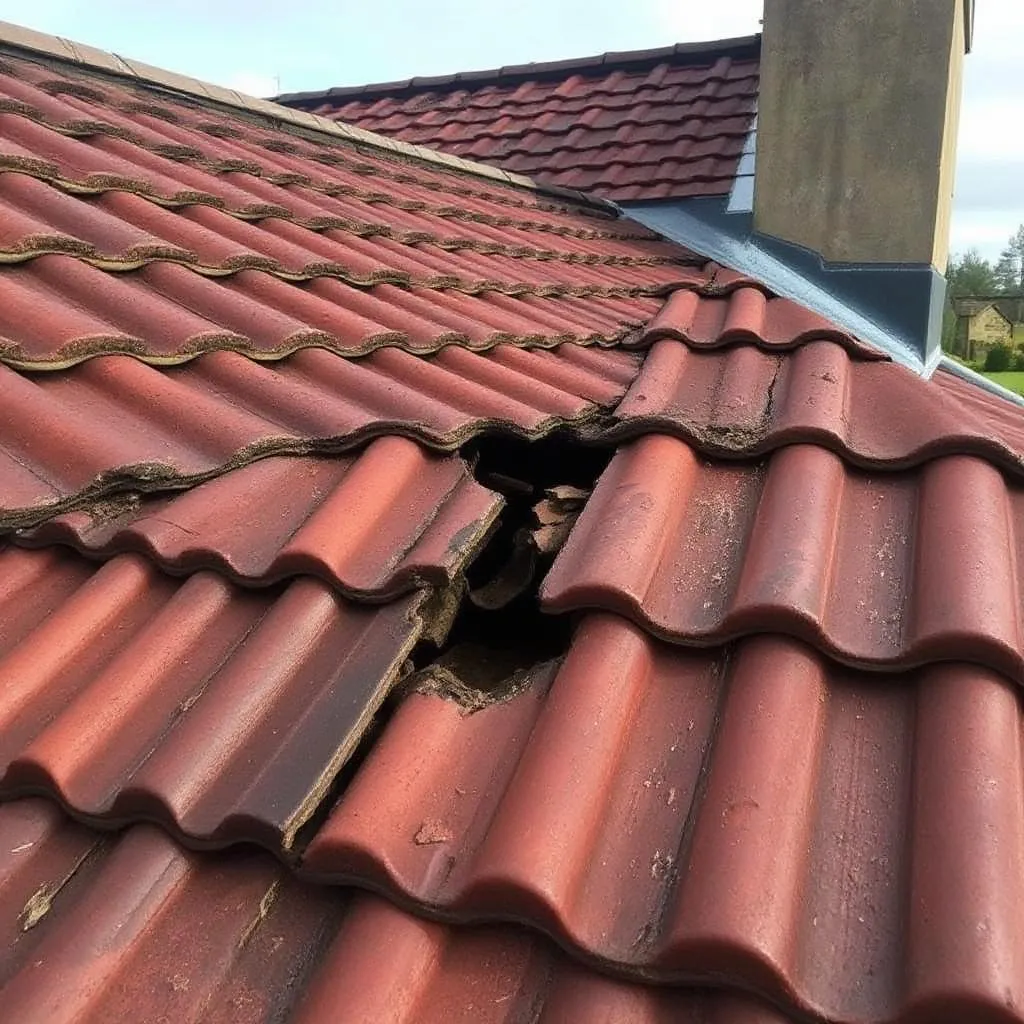
Managing Water Drainage and Overlaps
Concrete roof tiles need precise overlaps so water runs down properly. If gaps exist, rainwater can seep through. Check the recommended overlap for your chosen tile model. Lay the first course along the lower edge, and let it extend slightly to guide water into the gutters. Each course should overlap the one below by a few inches or centimeters, depending on design. This method helps direct water off the tile surface. Position roofing felt or underlayment beneath the battens to add a moisture barrier. For valleys, consider using metal flashing or specialized valley liners to direct rain away from the roof’s seams. Correct layering keeps the structure dry even in heavy storms.
Installing Hip Tiles and Ridge Tiles with Precision
Hip tiles and ridge tiles top off the roof’s angles, sealing them from wind and rain. Installing these pieces involves extra care for proper alignment. The goal is a uniform finish that blends with the rest of the concrete roof tiles, preventing leaks along those high points.
Securing Ridge Tiles Step by Step
Begin by placing a ridge board or top batten along the peak if your design calls for it. It supports the ridge tiles so they stay level. Each ridge tile should rest squarely, bridging both sides of the roof. Check with a sturdy string line to maintain alignment. Use mortar if it matches your region’s practice or opt for a dry-fix system for simpler maintenance. If using mortar, prepare a strong blend that adheres well. Spread it along the ridge line in neat beads, then seat each tile, pressing gently so it sets properly. Wipe off extra mortar before it hardens. Inspect each tile for even spacing. A well-set ridge line stops wind uplift and water intrusion near the peak.
Aligning and Mortaring Hip Tiles
Hip tiles secure the corners where two sloping sides meet. Mark a straight reference line along the hip rafter to guide placement. Apply a bead of mortar or use a dry-fix kit, then place the hip tiles so they nest tightly without large gaps. Some cuts might be necessary if angles vary. Keep the mortar consistent for a neat look, removing any excess while it is still wet. Watch for any lumps or hollows that disturb the even flow of water. If you see misalignment, adjust quickly, because errors can grow more apparent as you move up the slope. When done right, hip tiles form a smooth, sealed join that protects the roof’s edges.
Mastering Cut Tiles and Final Touches
Cut tiles complete corners and snugly fit around obstacles. Eye protection and cutting tools help shape tiles correctly. These final pieces ensure the entire covering looks seamless. Simple finishing tasks, like cleaning off debris, also keep your concrete roof tiles flawless when the installation ends.
Safe Techniques for Cutting Concrete Tiles
Cutting concrete roof tiles calls for a diamond blade saw or a specialized cutter. Wear goggles, gloves, and a dust mask as protection from tiny shards and dust. Measure precisely where a tile must fit, whether at a valley intersection or near vents. Mark the cut line with a pencil or chalk, then proceed slowly to keep edges clean. It helps to set up a stable cutting area, supported by a firm table or sawhorse. If a tile cracks, discard it and cut a fresh piece. Save decent offcuts because they might serve smaller sections. Always check the fit before installing, trimming further if corners bulge. Careful cutting pays off in a neat roof surface.
Enhancing Appearance and Roof Longevity
A well-kept finish keeps your concrete tiles looking uniform. Hose off or lightly sweep away any chips or dust that settle after cutting. Seal gaps near vents or chimneys using proper flashing. If you used mortar, inspect it for any cracks once it sets, patching spots that didn’t fill well. For extra color consistency, choose mortar that complements the tile tone. Some folks use ridge ventilation systems to reduce moisture and heat buildup, which prolongs tile life. Adding gutter guards can stop leaf buildup that forces water back toward roof edges. A tidy roof line, free of debris, shields the structure from water problems. Good final touches leave your roof both sturdy and visually appealing.
Conclusion
Properly installing concrete roof tiles involves planning, measuring the roof area, arranging batten spacing, and managing ridge or hip tiles. Good preparation ensures you have enough material, including for any cut tiles. Though the process can be detailed, the outcome is worth it. For a deeper look into the process, check out this guide on how long it takes to tile a roof. Reach out for professional guidance if needed, and enjoy the long-lasting value of well-laid roof tiles.


