

Felt roofing can be a real lifesaver for anyone looking for a sturdy and budget-friendly solution. It holds up well through changing seasons and is ideal for flat roofs, sheds, or small home extensions. In this overview, you’ll learn how to install felt roofing in a simple, step-by-step way, aimed at helping you prevent leaks and water damage. Even if you’re new to roofing, this guide is designed to build your confidence and walk you through the process. With the right tools and a little patience, you can achieve a durable felt roof that lasts. And if you’d rather leave it to the experts, Butlers Roofing – Felt Roofers Aberdeen are always ready to help with professional installation and advice.
Why Roofing Felt is a Go-To Choice
Roofing felt, sometimes called roof felt, is practical because it balances protection and affordability. Many homeowners like it for small or medium projects since it is often easier to install than other materials. Heavy duty felt can last a while if cared for properly.
Plus, if you ever run into problems, replacing felt is not as tough as you might think. You can make quick fixes or even install a second layer to patch small trouble spots. In most cases, roofing felt is a super helpful material when you want decent coverage without a big headache.
Budget-Friendly and Durable
Roof felt does not cost much compared to other roofing methods. You can find it at most hardware shops. While the price tag is lower, the durability can still stand up to tough weather, especially if applied correctly. When rain pours down, the bitumen layer in the felt acts like a shield. This means you worry less about water reaching the wood deck beneath.
Versatile for Many Structures
You can install a felt roof on your garage, a home extension, or a small garden setup—many folks like to feel a shed roof since it provides lasting protection and looks neat when done. If you own a storage shed, shed felt is easy to work with and quickly seals the top of the structure. One extra advantage is that you can do repairs without changing the entire roof.
Prepping the Roof Surface Before Laying Felt
An essential part of how to install roofing felt is starting with a good foundation. Any bumps or leftover nails on the roof surface can damage the felt down the line. Take a moment to grab a hammer or pry bar and remove any old staples or nails poking up. Sweep away dust and any little rocks. By doing this, you reduce the chances of air pockets or tears forming under your felt roof.
Check for Rot or Weak Spots
Look at the wood or decking carefully. If you see splinters, dark patches, or something that looks rotted, fix it first. Replace those sections to ensure you have a firm base for your new felt. It might feel like extra work, but ignoring it could lead to costly repairs later.
Gather Must-Have Supplies
Influenced by your approach—whether you use adhesive or a torch on method—you will likely need:
• Roofing felt or heavy-duty felt rolls
• Nails or clout nails
• Hammer
• Utility knife
• Adhesive (if not torching)
• Torch and gas (if you do torch-on)
• Protective gloves
Below is a simple breakdown in table form:
| Item | Reason |
|---|---|
| Felt Rolls | Covers and seals your roof |
| Adhesive | Secures the felt (non-torch method) |
| Torch & Gas | Used if you prefer torch-on felt |
| Nails & Hammer | Fastens felt edges and corners |
| Protective Gloves | Shields hands from heat and cuts |
The Actual Installation: First Piece and Beyond
Step One: Measure and Cut
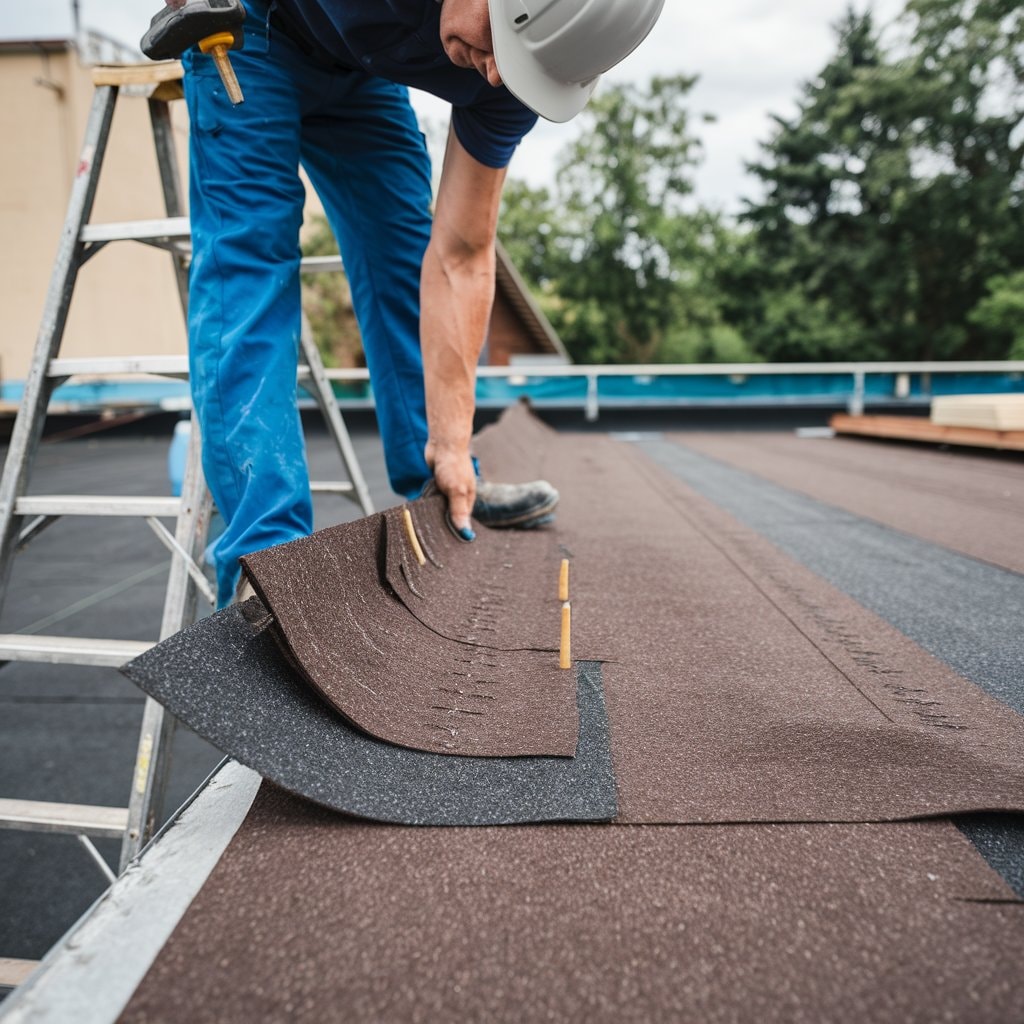
Roll out the first piece of felt and mark the exact lines where you want to cut. Leave a little overhang at the edges, normally a couple of inches. This small edge helps water drip off rather than run under your layers. When you cut, remember that clean cuts matter for a neat finish.
Step Two: Secure the Felt
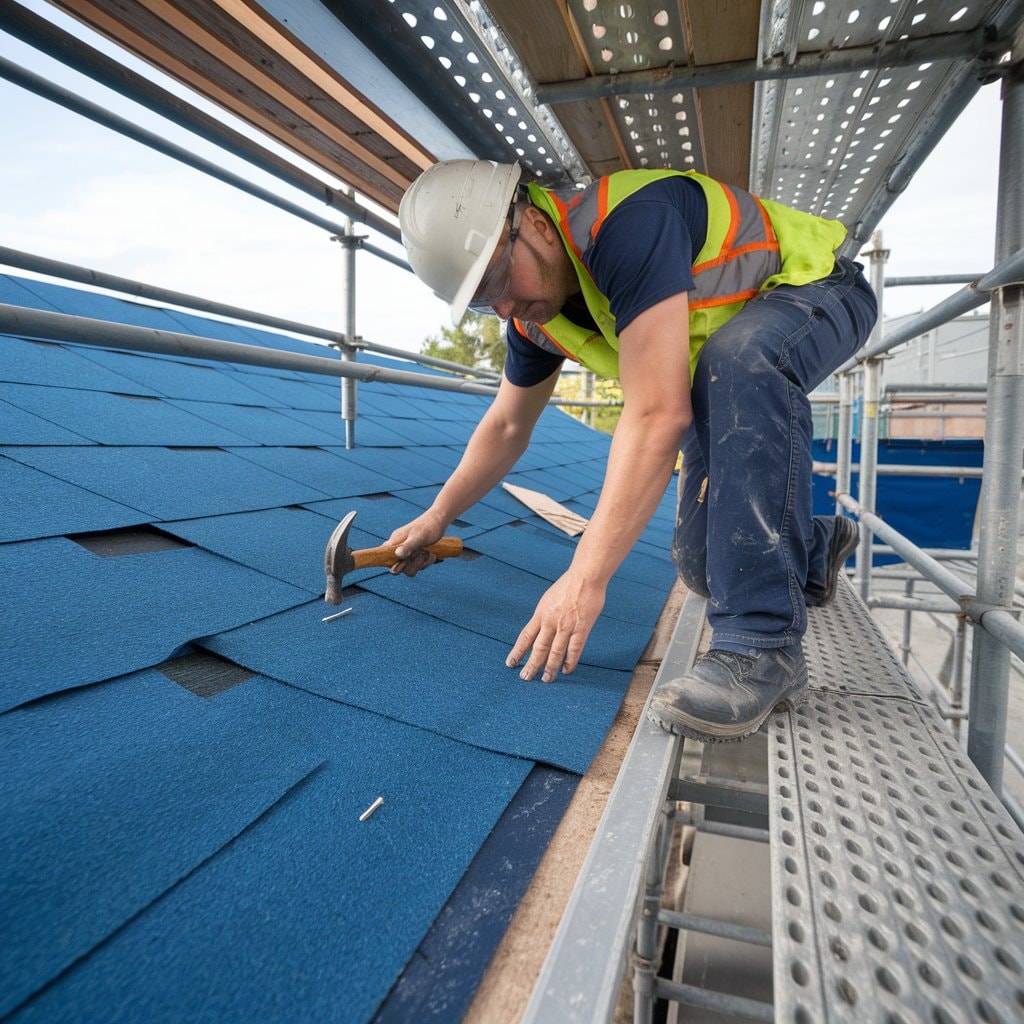
Line up the first piece along the bottom edge of your flat roof. If you use nails, tack them every few inches on the top edge. Keep it snug so the felt does not wrinkle. If you are learning how to install a felt roof by torching, heat the underside gently and press it onto the deck. This heat fuses the bitumen into the wood.
Step Three: Overlap for Best Sealing
When you roll out a second layer, make sure it overlaps the previous strip by at least three inches. If you go smaller, water might slip through. Add adhesive or more torch heat to seal the overlap. Always work side to side or bottom to top for a tidy, watertight seal.
Dealing with Corners and Fascia Boards
Corners can be tricky since you might have to trim around vents or fascia boards. Go slow and measure carefully. If certain areas seem weak, add a patch over them for extra protection. This patch is especially handy if you see a tear or suspect extra moisture might collect there.
The Cap Sheet: Protecting Your Felt Roof
Why Add a Second Layer?
People often wonder, do I need a second layer on my felt roof? The extra layer, sometimes called the cap sheet, gives you additional durability and weather protection. It is often made with a mineral finish that repels sunlight and water more effectively. If you live in a place with strong storms, that second layer can keep your roof from wearing down too soon.
Applying the Top Layer
Start at the same edge as before, rolling the cap sheet carefully. Keep the overlaps consistent with the base layer. If you are using a torch, move it at a steady speed to avoid burning the felt. Once it is laid out, run your hand over it (with gloves) to press down any air pockets. Following this approach helps prevent cracks and saves you from replacing felt too soon.
Final Touches and Checks
Address Any Loose Edges
Walk the full roof surface and feel for spots that might have lifted. Use more adhesive or add a few nails as needed. Tight edges keep rain from sneaking in.
Check for Wrinkles or Bubbles
Bubbles can trap moisture underneath. If you spot a bubble, slice it with your utility blade, then squirt in some adhesive before pressing it down again. This small fix can prevent bigger damage later.
Cleaning Up
Clear any leftover debris from the roof. Make sure your gutters are not full of felt scraps or leftover nails. This last step helps with proper drainage and keeps your home safe from potential water problems.
Maintaining Your Felt Roof
After you learn how to install roofing felt, do not forget upkeep. Inspect your roof at least twice a year—once after winter and once at the end of fall. Remove leaves or branches that might collect around the edges. If you spot minor cracks, fix them quickly with a patch. If you see major problems, you might want a pro to help you.
Simple checkups go a long way in boosting the lifespan of your new felt roof. Congrats on finishing the steps for how to install a felt roof. By following the guidelines, you have a strong layer of protection that will shield your home or shed from rain, snow, and other elements. Even if you are a beginner, the process can be smooth if you stay organized and use the right gear. Roof felt offers a practical, versatile solution, and whether it is a minor repair or a whole new covering, using shed felt can keep your outbuildings safe, too.
Keep an eye on things from time to time, and do not hesitate to replace or patch up sections if you notice any damage. Keeping your roof in good shape means fewer headaches and a sturdier home overall. Enjoy the peace of mind that comes from knowing you have a well-sealed, reliable roof overhead.
Conclusion
Wrapping up your project can feel like a big relief. You learned how to install felt roofing, from the first piece to the final overlap. With a smooth base and secure edges, you now have a shield against leaks and bad weather. Keep an eye on any bubbles or cracked spots, and do quick fixes when needed. By taking these small steps, your felt roof can last a good while. If anything goes beyond your comfort level, our team is always ready to help. A sturdy roof makes all the difference, giving you peace of mind for the seasons ahead. Enjoy the safety and value your new felt roof brings.


