

Felt roofs are a common choice for many homeowners with a flat roof. They’re made from layers of roof felt and are known for their simple installation. They can last for years, but they need regular care. When small issues appear, felt roof repairs keep costs in check and prevent big damage later. Some folks try do-it-yourself felt roof repair on minor tears and cracks. Others trust professional felt roof repair services to handle bigger tasks. Either way, addressing problems quickly is smart so water doesn’t seep inside. This overview will help you learn how to repair a felt roof, from choosing felt adhesive to cleaning up when you’re done. It’s good to know which steps you can do yourself and when it’s best to call in the pros.
Key Advantages of DIY Felt Roof Repair for Your Flat Roof
Many people with felt roofs appreciate how simple it can be to fix small issues on their own. If you have basic tools and a steady hand, you might save time and money by handling a flat roof repair yourself. Below, we’ll look at why do-it-yourself can be a good plan, the common problems you might face, and the basic materials you’ll need to fix a felt roof.
Cost-Effectiveness of Felt Roof Repairs
One big reason to tackle roof repair by yourself is cost. Professional maintenance can be pricey, and so can replace the entire felt roof. Patching holes or sealing tiny leaks is cheaper than buying a new roof. If your flat roof only has small tears or small blisters, you might spend far less on felt adhesive and roof repair products than on a full roof replacement. You also save on labor costs, which can add up fast.
Common Issues with Roof Felt and Felt Roof Repairs
Felt roofs show wear in a few ways. If you see cracks or lifted edges, they’re often easy to spot. Little tears can be mended with a patch. Tiny leaks might be found by noticing wet spots on your roof’s surface or inside your attic. Blisters can grow when moisture gets trapped below the felt. Here’s a simple table showing issues and their likely fixes:
| Common Felt Roof Issue | Possible Repair Method |
|---|---|
| Small Cracks | Apply felt adhesive and patch |
| Lifted Seams | Re-seal edges with roofing cement |
| Minor Blisters | Cut blister, dry area, apply patch |
| Small Leak | Identify leak, seal with bitumen or adhesive |
Each of these fixes is usually straightforward if you have the proper tools and patience. Use a roller to press down felt seams. That can help make a tighter bond and keep moisture out.
Essential Roof Repair Products and Tools for How to Repair a Felt Roof
To repair a felt roof, gather the right materials first. You’ll need:
• A utility knife or sharp blade
• Felt adhesive and patches
• A heat gun or torch if you plan on heating the roofing materials
• A roller to flatten new patches or seams
• Primer and protective roof paint (optional in some repairs)
Safety is important, too. Wear gloves and proper footwear when climbing on your flat roof. Arrange a stable ladder so you can move up and down without tipping.
When It Makes Sense to Repair a Felt Roof Instead of Replacing
There’s a time to repair and a time to replace. If your felt roof is less than halfway through its expected lifespan and only a small area shows damage, a simple patch may do the trick. Keep an eye on how big the damaged area is. If it’s more than a small patch can fix or if the roof has many trouble spots, a bigger upgrade might be better. Also, pay attention to weather conditions. Most felt roof repairs work best in dry, mild temperatures, so the adhesives cure well.
Here is a quick bullet list of advantages for DIY felt roof repairs:
• Cheaper than hiring a contractor for every small leak
• Lets you tackle simple tasks on your schedule
• Often extends the life of your flat roof
If you’re not sure you’re up for the task, there’s no shame in calling professionals. Sometimes, it’s safer to let an expert handle complicated roofing problems. Yet if you keep your eyes open for small issues, you can do felt roof repair on your own and keep big costs away.
Potential Drawbacks or Considerations for Roof Repair of a Felt Roof
Doing your own felt roof repairs can be rewarding, but it’s wise to know the possible downsides. Faulty fixes might cause bigger problems later. Let’s talk about tricky maintenance, what to watch out for with weather, and the skill level needed for a properly felt roof repair. We’ll also touch on how a professional roof repair can sometimes be the better choice.
Diagnosing Roof Repairs vs. Replacements
It’s not always easy to tell what’s happening under a felt roof. Water can seep in under one spot and show up somewhere else. By the time you see a wet patch inside, the damage might have stretched far beyond the visible tear. If you fix the surface without checking for hidden moisture, the problem could linger. Rotting wood beams or soaked insulation might be out of sight. This makes roof repairs more tricky than expected.
Seasonal Factors Affecting Flat Roof Repair
Felt roofs need certain conditions for successful patching. In cold weather, some adhesives don’t cure well. If you try to repair a felt roof in a rainy season, the new patch might not stick. You might end up with more issues if moisture gets trapped. Table below shows suitable conditions:
| Weather | Repair Suitability |
|---|---|
| Cold Winter | Adhesives may not bond properly |
| Wet Rainy Days | Hard to keep surfaces dry, might fail |
| Mild, Dry Days | Best time for repairs with felt adhesive |
Many people wait until they have a few nice days in a row to do felt roof repairs. That way, the materials stay dry, and the patch sets fast.
Skill Requirements for Felt Roof Repairs
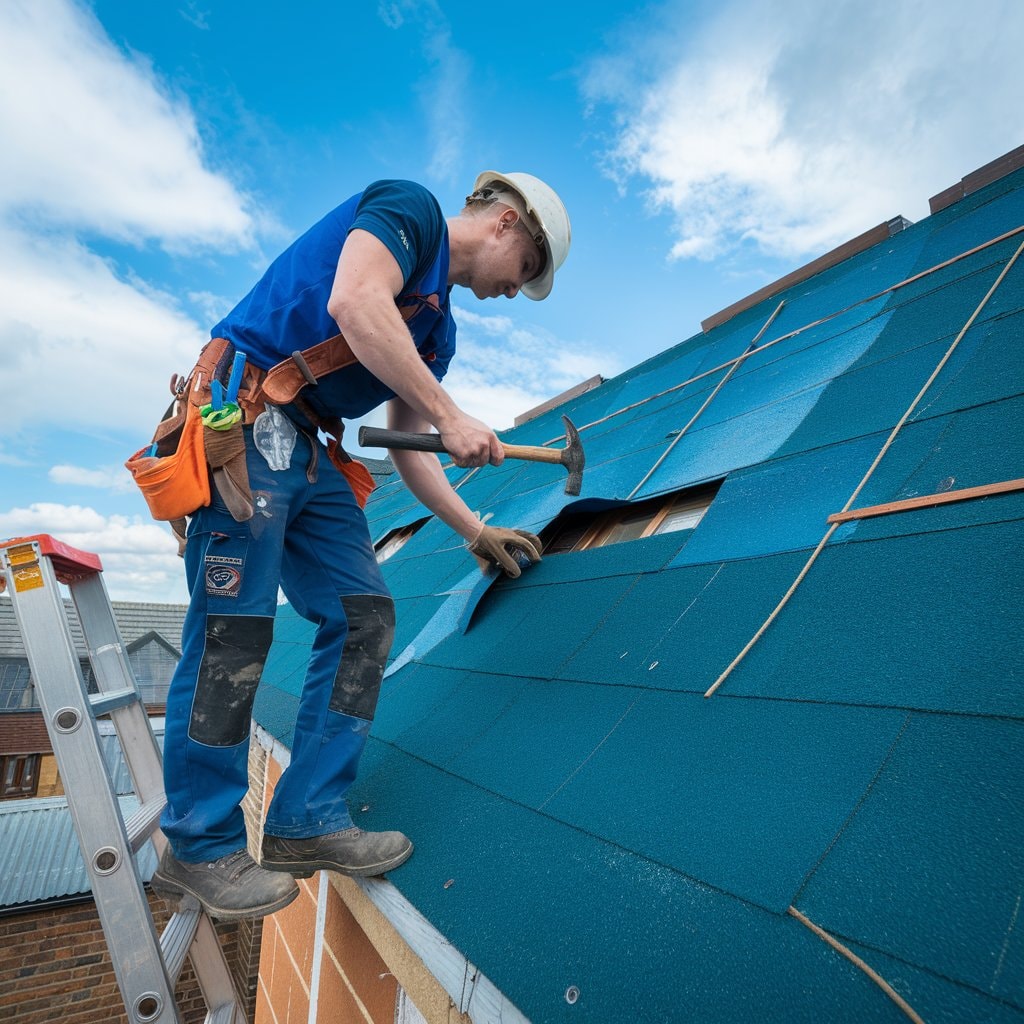
Not every repair is simple. Using a torch or heat gun takes practice. You also need to be comfortable climbing onto the roof and moving around safely. If you’re nervous about heights, you risk hurting yourself or doing a sloppy job. Some roof repair products require carefully applied heat or layers of bitumen. This can be tough for those who have never attempted a felt roof repair before.
Professional vs. DIY Flat Roof Repair
At times, calling a professional is the safest bet. If your damage covers a large portion of the felt roof or if you see major water stains inside, it might be best for an expert to check it. They can figure out if you only need a patch or need a larger replacement. A certified roofer might provide warranties on their work. That can ease your worries about hidden leaks or future trouble. Also, pros know how to spot problems nobody else notices, like failing flashing or issues with the roof’s slope.
When you handle repairs on your own, there’s always a chance you might need a pro later if your patch fails. If the roof’s old or if you’re seeing the same leaks again and again, talk to an expert. They can tell you if it’s time for an upgrade. Repairs are great for small cracks and blisters, but extensive damage might need a total roof overhaul. Using common sense goes a long way.
If you’re confident in your ability to patch a felt roof properly, go for it. If you feel uneasy, set up an inspection. Either way, keep safety at the top of your list. Remember that a sturdy, well-repaired roof protects your home, keeps water away, and gives you peace of mind.
Step-by-Step Guide: How to Repair a Felt Roof, From Roof Felt to Felt Adhesive
Now, let’s dive into the steps you can follow to repair a felt roof. Whether you’re patching a small tear or fixing lifted seams, careful prep can lead to a successful flat roof repair.
Preparation for Roof Felt Patching
First, you want to give the whole roof a quick check. Sweep away leaves or debris. Look for cracks, bumps, or any weird spots that could hide leaks. Make sure you have:
• Utility knife or blade
• Roof repair products like roofing adhesive, bitumen, or felt adhesive
• New felt patches or felt strips
• Roller or something similar to press patches in place
• Gloves, shoes with good grip, and a stable ladder
If there’s moisture, let the area dry or clean it up. A wet roof makes it hard for your patch to stick. If you see a deeper problem like rotted beams, you might need professional help.
Repair a Felt Surface Using the Right Roof Repair Products
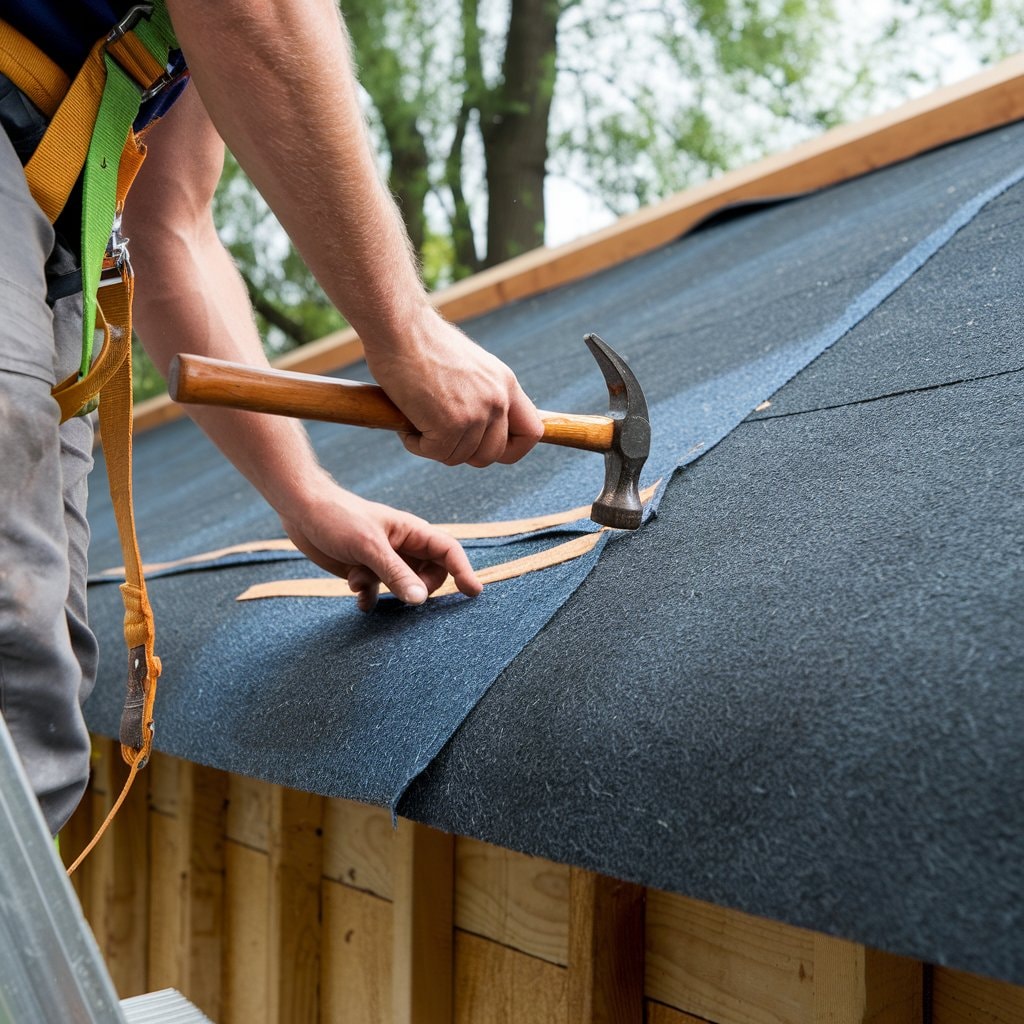
When you find a tear, cut loose or flaky bits of the old felt. Make the area smooth. Then, apply a layer of primer or roofing cement if needed. Stick on the replacement felt piece that you cut to the right size. Spread felt adhesive and place the patch so it covers the damage by a couple of extra inches on all sides. Use a roller to push out bubbles. Let it dry fully before you step on it. If there’s a seam that’s come loose, peel it back carefully, then apply a new adhesive. Press it down firmly and use a roller or a piece of wood to hold it flat.
Addressing Larger-Felt Roof Repair Challenges
Big blisters can be trickier. You might have to use a knife to open the bubble, let it dry inside, then seal it back up. If the blister is wet, allow it to air out until it’s not damp. Once dry, put a layer of roof felt or a patch on top. If an entire section looks badly worn, remove that part and replace it with fresh material. Make sure overlaps are secure and that you use enough adhesive.
Gaps can let water slip through, causing even more harm. For a bigger job, you might need a torch to bond the new felt. Torch-on roofing is faster but requires caution. Beginners might burn the felt or start a fire if they aren’t careful. If you aren’t used to using a roofing torch, it’s wise to practice first or hire an expert for that part.
Maintenance Tips After Roof Repairs
Even if you do a fantastic job with your felt roof repair, you’ll want to watch things closely. Check your roof a couple of times a year and after major storms. Keep it tidy. Remove leaves or twigs that can hold moisture. Some folks apply a protective coating or paint designed for felt roofs to boost their resilience. That might help protect the patch from the sun’s rays or repeated bouts of bad weather.
If leaks come back, don’t ignore them. A slow drip can cause big rot if you wait too long. Also, pay attention to the edges of patches you’ve installed. Make sure they stay stuck down. Over time, temperature shifts can loosen them. If you follow these steps carefully, your felt repairs should extend the roof’s life, at least until it’s time for a bigger upgrade.
Wrapping Up: Secure Your Roof with Proper Felt Adhesive and Maintenance
I felt roof repairs don’t have to be scary. By knowing how to repair a felt roof, you can tackle small cracks and blisters before they turn into big leaks. Check your flat roof regularly, use quality roof repair products, and keep an eye out for lifted seams or soft spots. Sometimes, a simple repair of a felt patch can keep your home protected for years. If you’re not confident in your skills or if you see major problems, call in a professional to handle bigger roof repairs. They can tell you if you need an easier fix or a full replacement. A solid, well-cared-for felt roof can bring you peace of mind and protect your family from the elements.


